This is a pattern I have been using for some time now, with a great deal of success. Its nothing spectacular or overly dissimilar to other sedge patterns, but its one I have great confidence in. So much so it is now the only sedge pattern in my box. When treated it floats like a cork, catching many fish before it needs reviving. If left untreated it works well in a spider set up especially as the top dropper, fishing just under the surface film.
The materials needed to tie it are as follows:
- Dry fly hook in sizes 12-16 (or smaller if you like) I like tiemco 103bl or 900bl.
- Brown tying thread.
- light green dubbing synthetic or natural.
- hares mask/ear dubbing
- Fine deer hair- I like the material packaged as comparadun hair.
- Hares mask guard hair for the hackle.
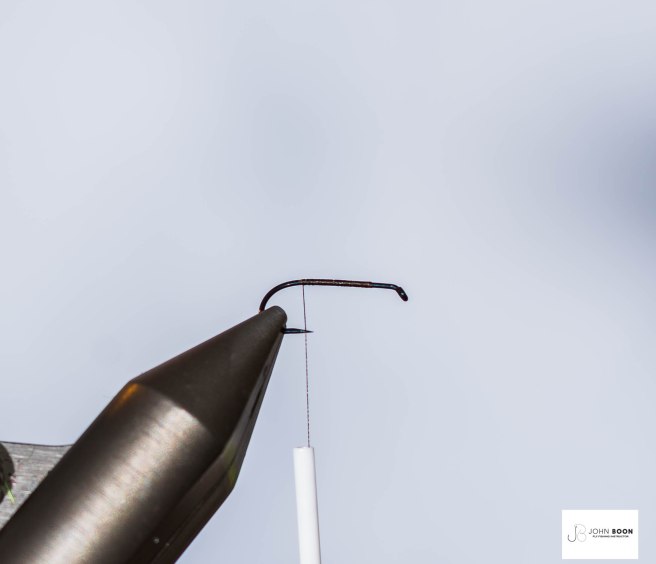
Step 1.
Place the hook into the vice, and lay down a bed of tying thread down towards the bend.
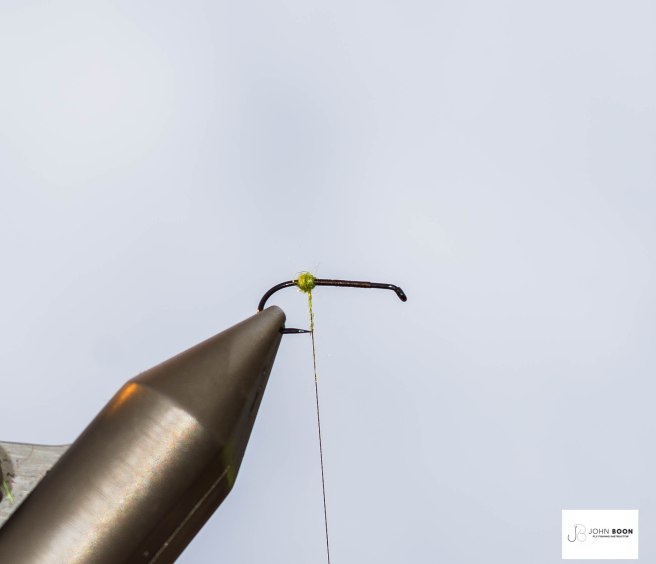
Step 2.
Dub on the green dubbing onto your thread and create a small ball at the back to look like an egg case (optional).
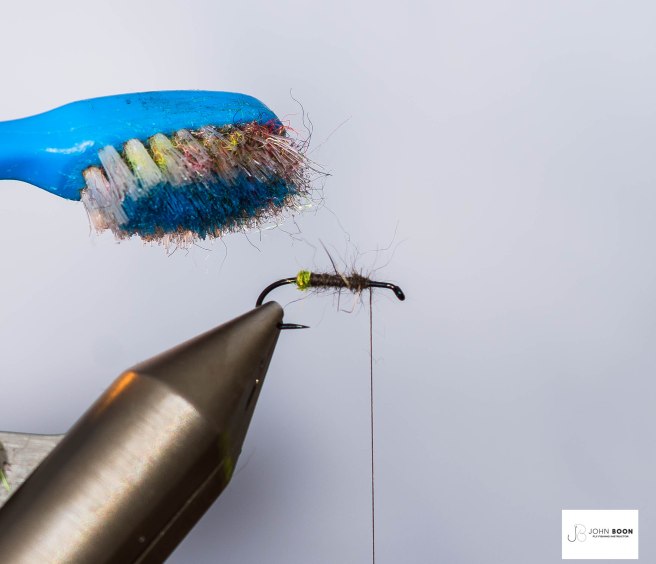
Step 3.
Now dub on the hares mask/ear to form a body leaving about a third of the shank at the front for the wing and hackle. I then like to brush it out with an old tooth brush.
Step 4.
Its time now to add the wing. Cut a small bunch of hair from the hide. Then clean its out with your fingers to remove any underfur and broken strands. Once you have cleaned out the hair, put it into a hair stacker to align the ends.
Step 5.
Measure the wing (above). I like mine to just go past the bend of the hook. Once measured switch hands and tie in on top of the shank with a couple of pinch and loops.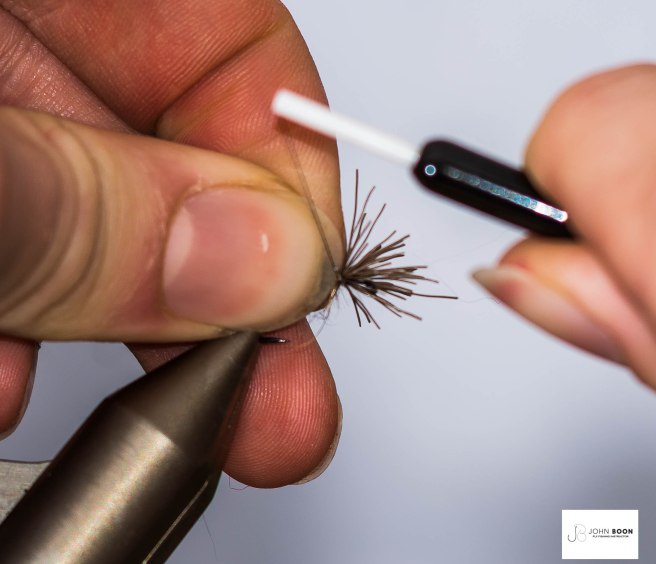
Step 6.
Once tied down, lift the butt ends up a few at a time and tie down. This locks the hair into place and prevents it from slipping out. Tidy the fly up now by clipping the butt ends way, and tie in a dubbing loop.
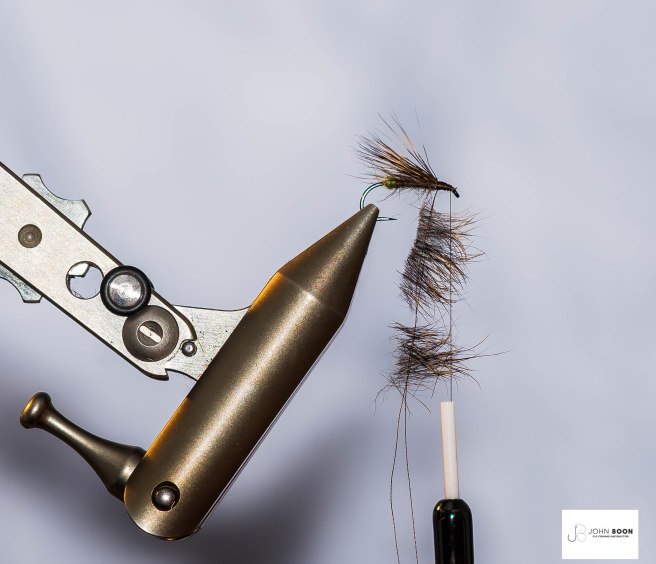
Step 7.
Once you have tied in a dubbing loop, it is time to cut the hair from the hares mask. The hair you want is the guard hair in the center of the mask (see below). The tricky bit now is separating the under fur from the guard hairs. Once you have achieved this its time to place the guard hairs into the dubbing loop. You can keep the underfur as dubbing for the next fly.
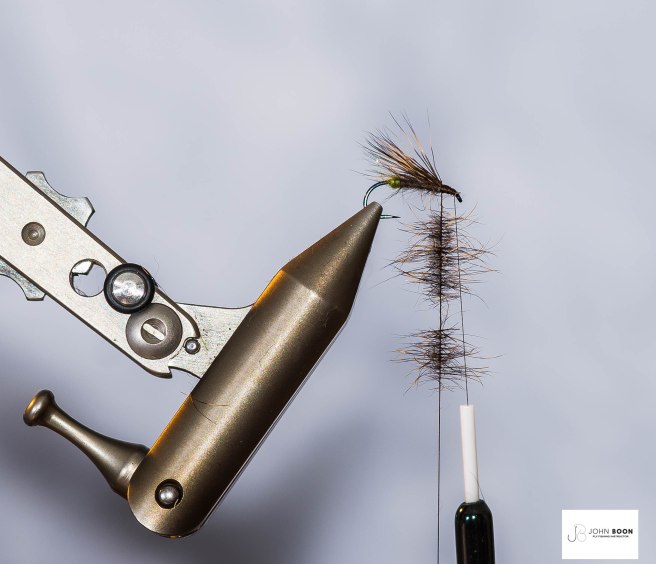
Step 8.
The hair should be slightly longer than the gape of the hook. Once the hair is in place and measured trim the butt ends with sharp scissors leaving about 1 mm from the butt ends to the thread. This adds a bit of stiffness to the hackle, which helps from drowning. Spin up the loop making sure it is tight so the hairs don’t fall out.
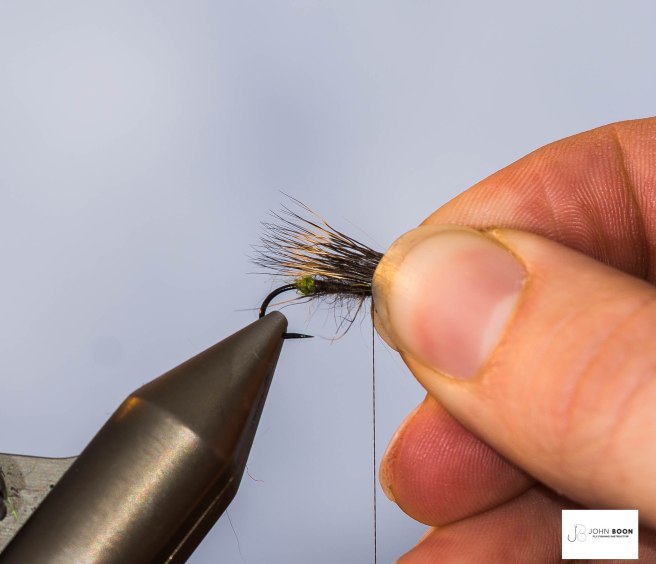
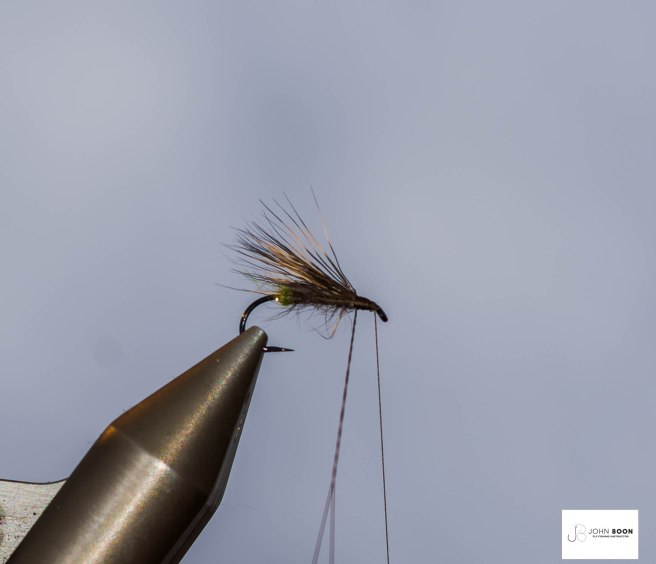
Step 9.
Now fold the hair back just as you would with a hackle, and wrap towards the eye, creating a dense collar. Then tie off, build a head and whip finish. Add a little bit of head cement to the whipping for adding security.
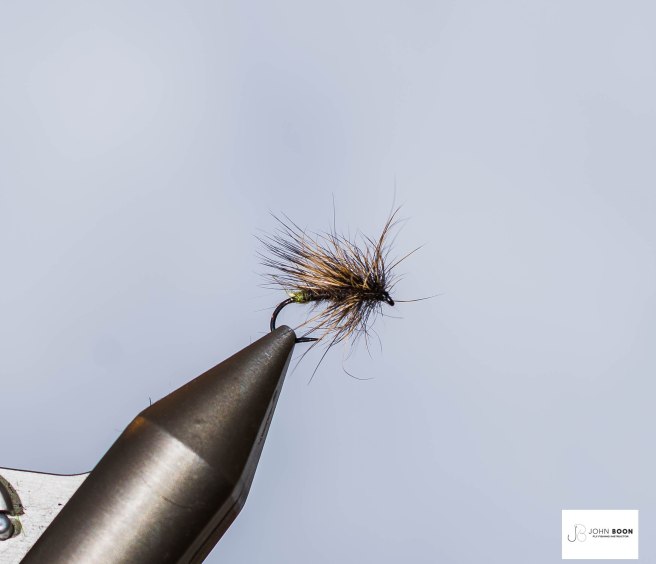
There you have the finished fly. The hair hackle is a little bit tricky but becomes easier with practice. I hope you will give this fly a try, and I’m sure you wont be disappointed when you come to use it.
John.


